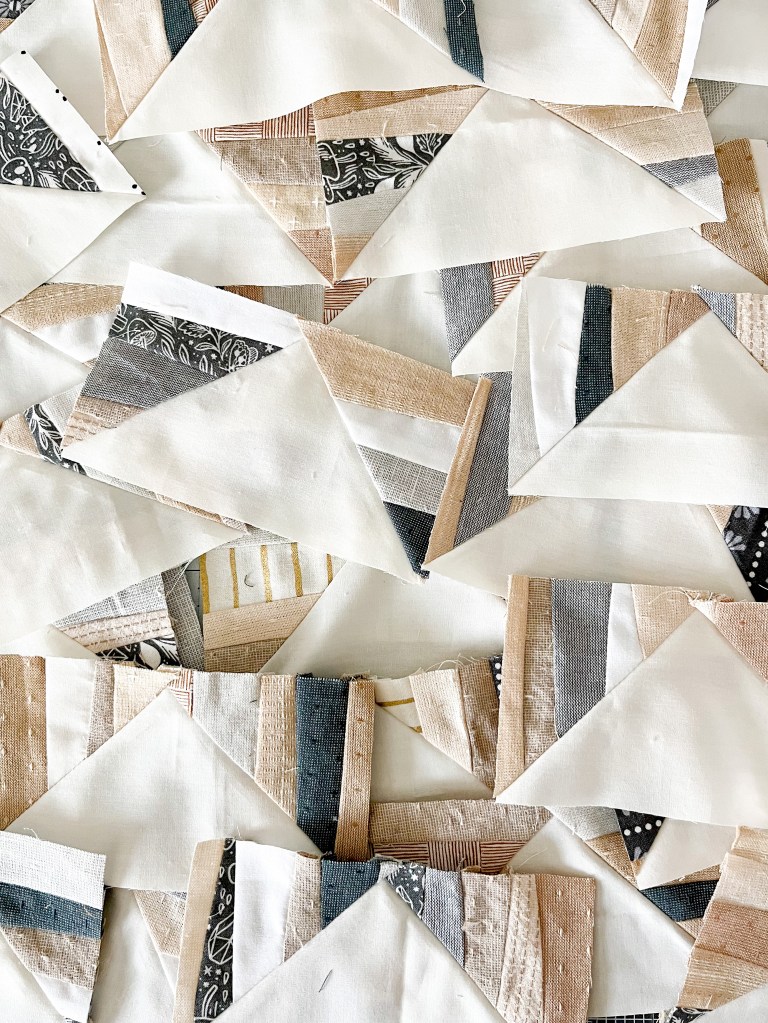
It’s time to make flying geese! If you need to refer to any other part of this tutorial, you can find all of the different parts linked below.
I’ll admit, the first time I made flying geese, they were a total mess. The pattern I was following didn’t allow for much trimming, and I’ve realized since then that I like to have a lil’ room to trim, whether its half-square triangles, flying geese, etc. As a result, I’ve made these flying geese a little bigger than needed, giving us room to trim them down to the perfect size. I will also include step-by-step trimming instructions for flying geese when we get to that part. Let’s go!
Make Flying Geese Units
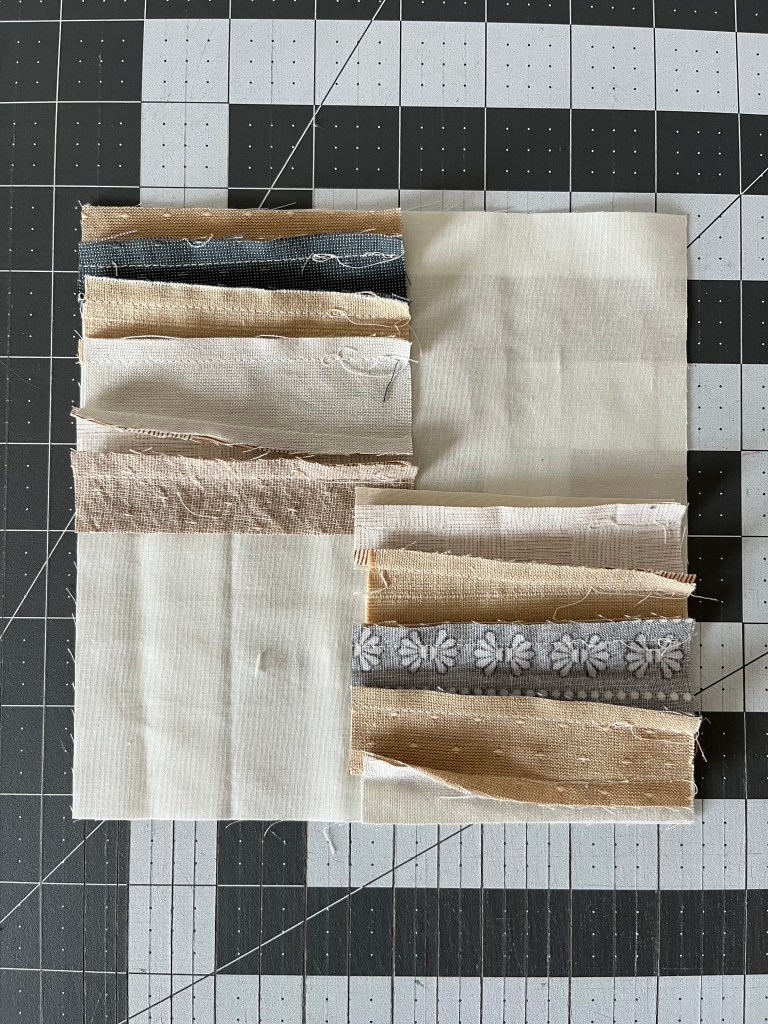
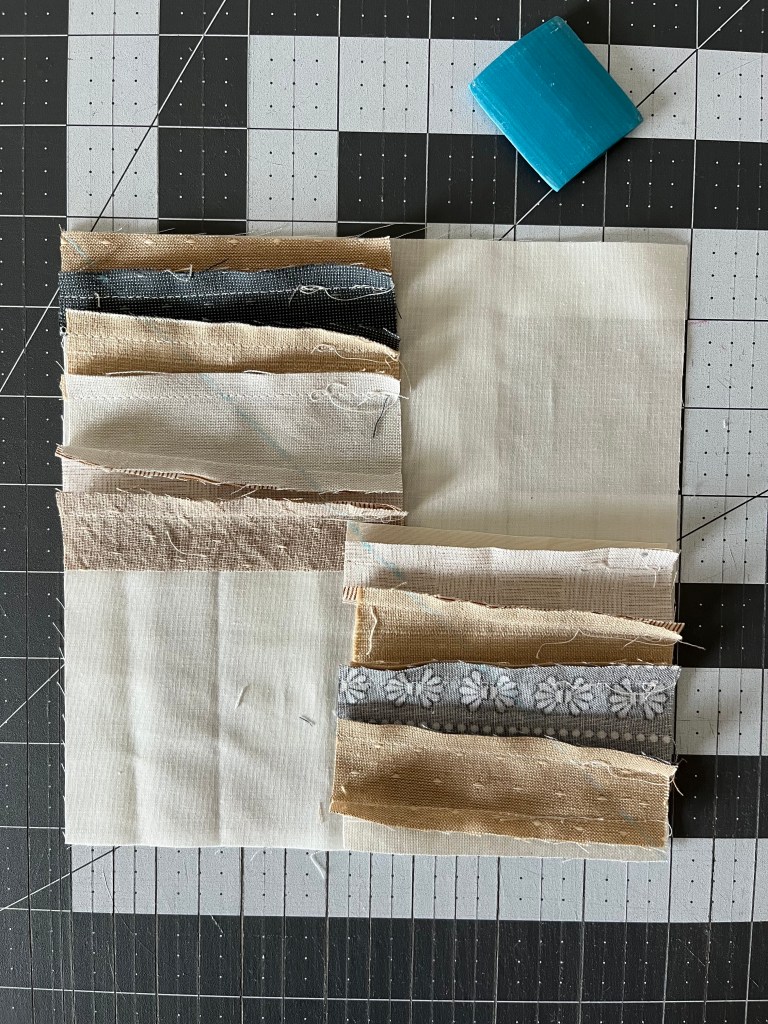
For each quilt block, you will need:
1 – 7″ square background fabric
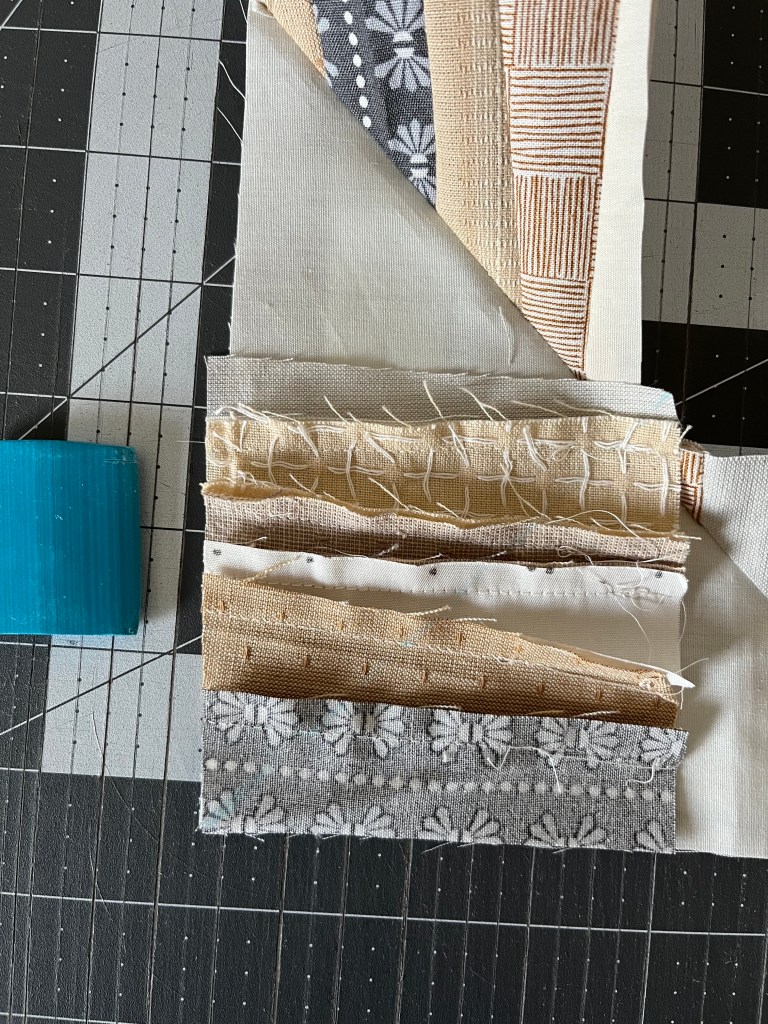
4 – 3.75″ improv strip units
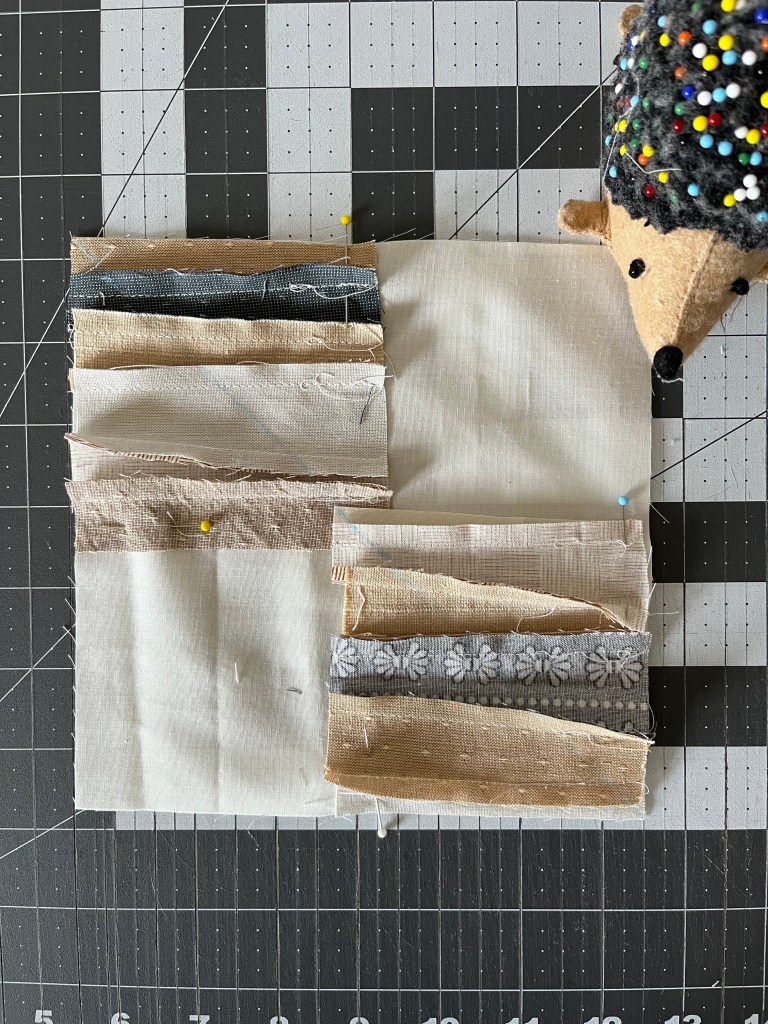
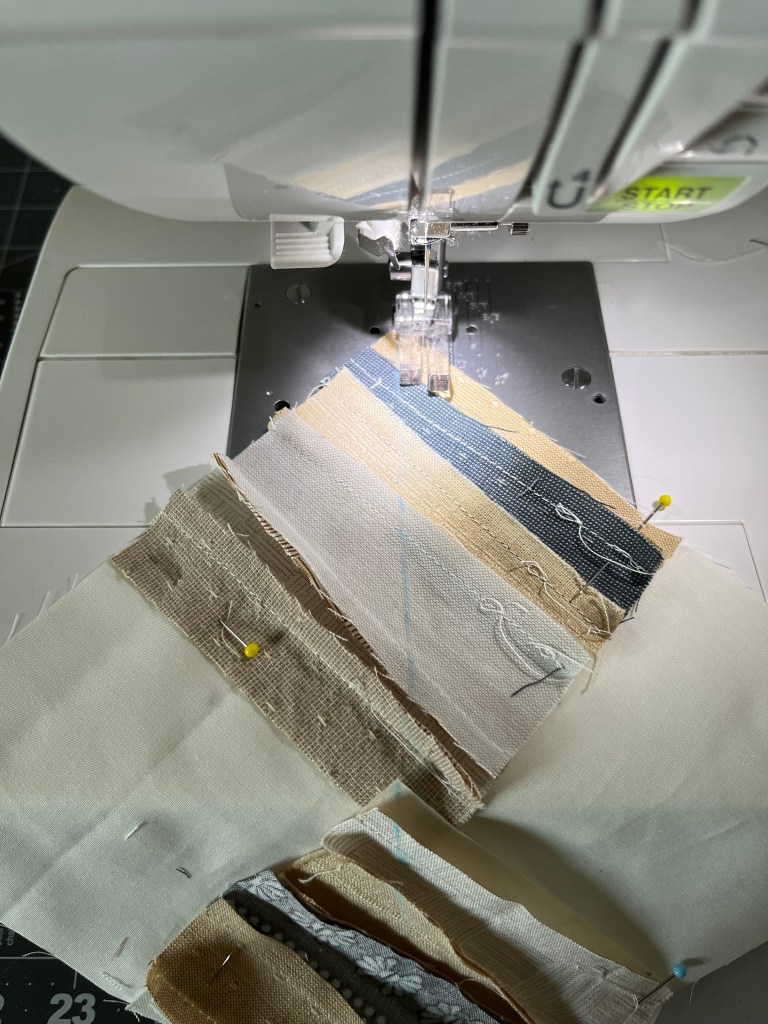
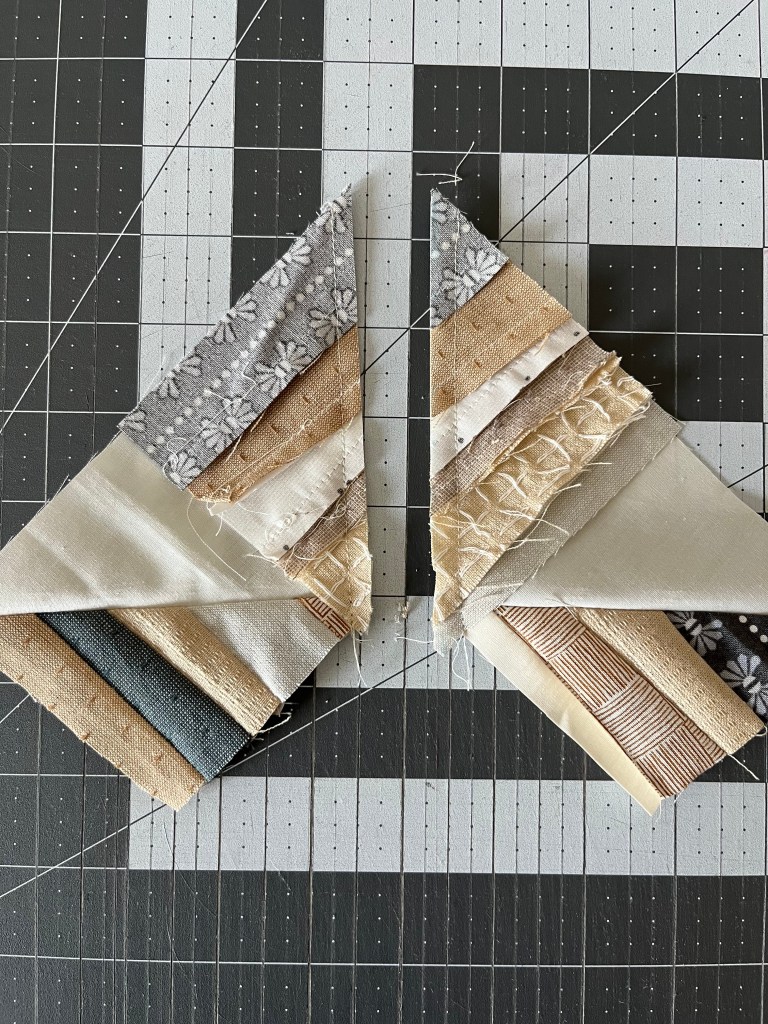
Step 1: Place two 3.75″ strip units onto a 7″ background square, as shown below. We want the strips to all lay in the same direction, so make sure to arrange them correctly. I like to place both of them horizontally.
Step 2: On the back of the 3.75″ squares, mark a guideline from corner to corner. Normally, I “mark” my line by creasing the squares in half, but these strip squares are pretty bulky, so I used tailor’s chalk to mark my lines.
Marking tools: Make sure that whatever you choose to use, that it’s water or air soluble. Many quilt and fabric stores sell special pens, markers, tailor’s chalk, and hera markers that mark fabric without ruining them. I have heard washable markers are a good, affordable option, but not everyone loves them because they can take a few washes to get out. I would avoid using a friction type pen, because the ink doesn’t actually “disappear.” It’s still on the fabric, and can reappear when the fabric gets cold!
Pin squares into place.
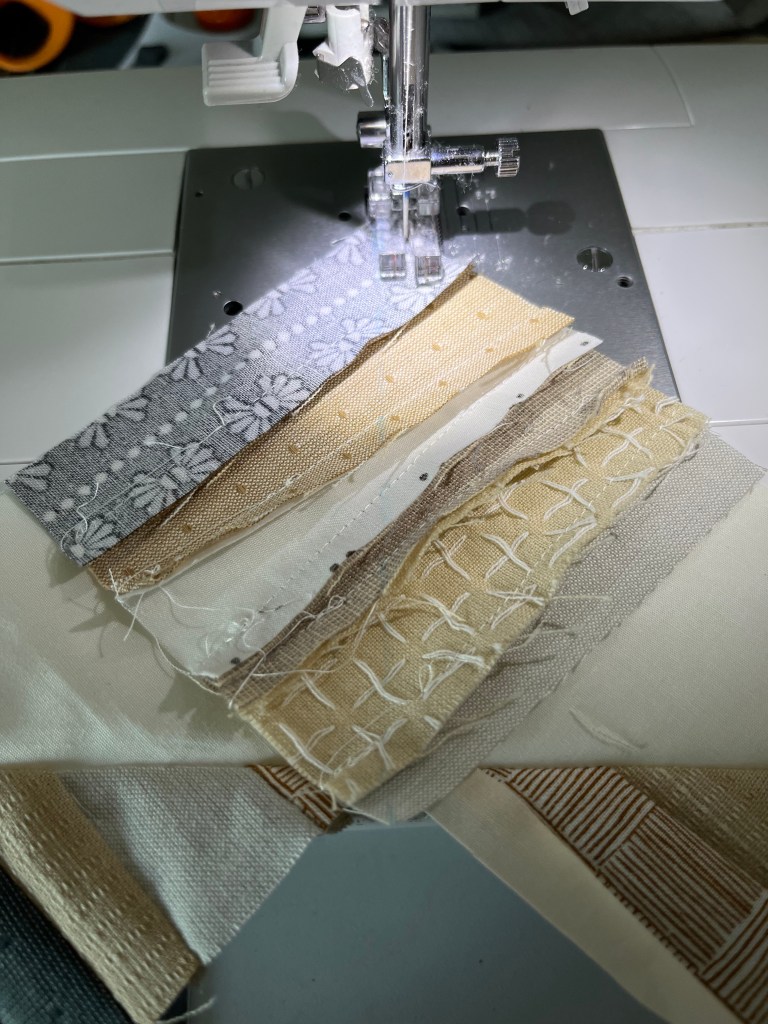
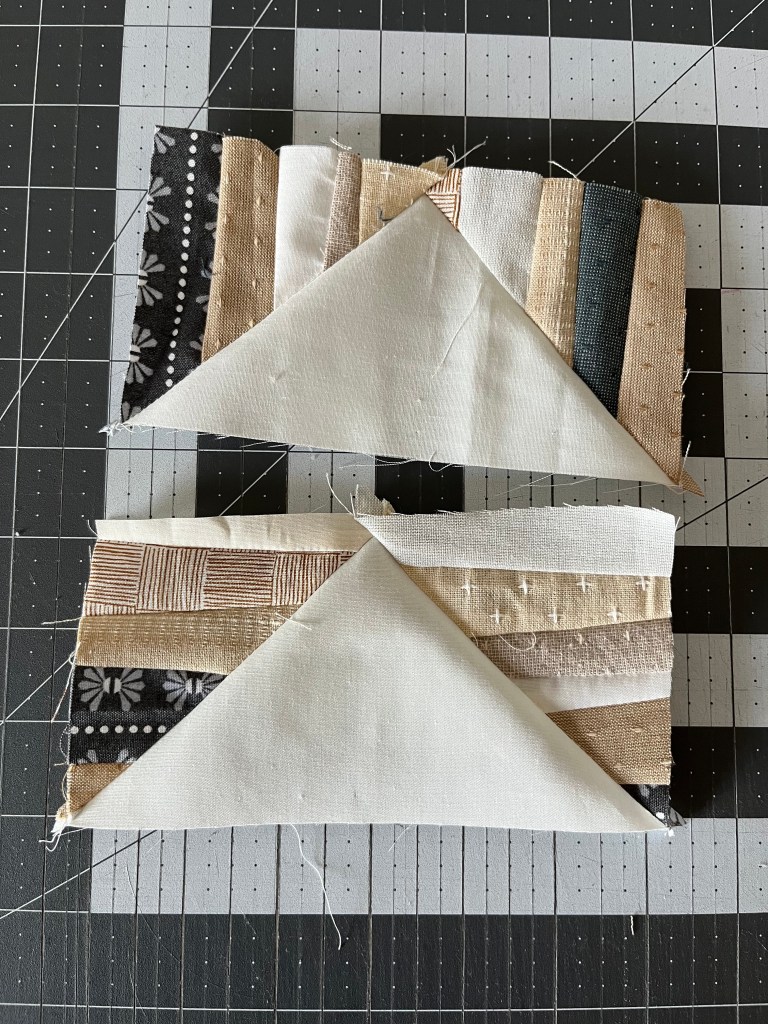
Step 3: Sew 1/4″ from the line on both sides.
Step 4: Cut along the guideline. Press seams to the side of the darker fabric.
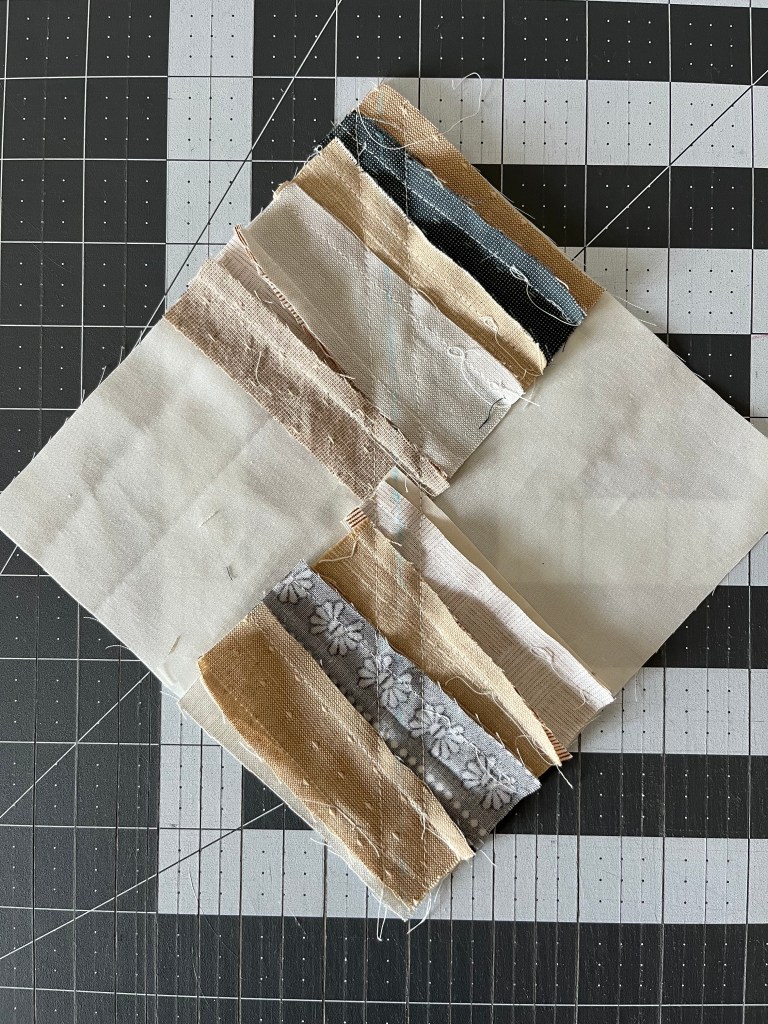


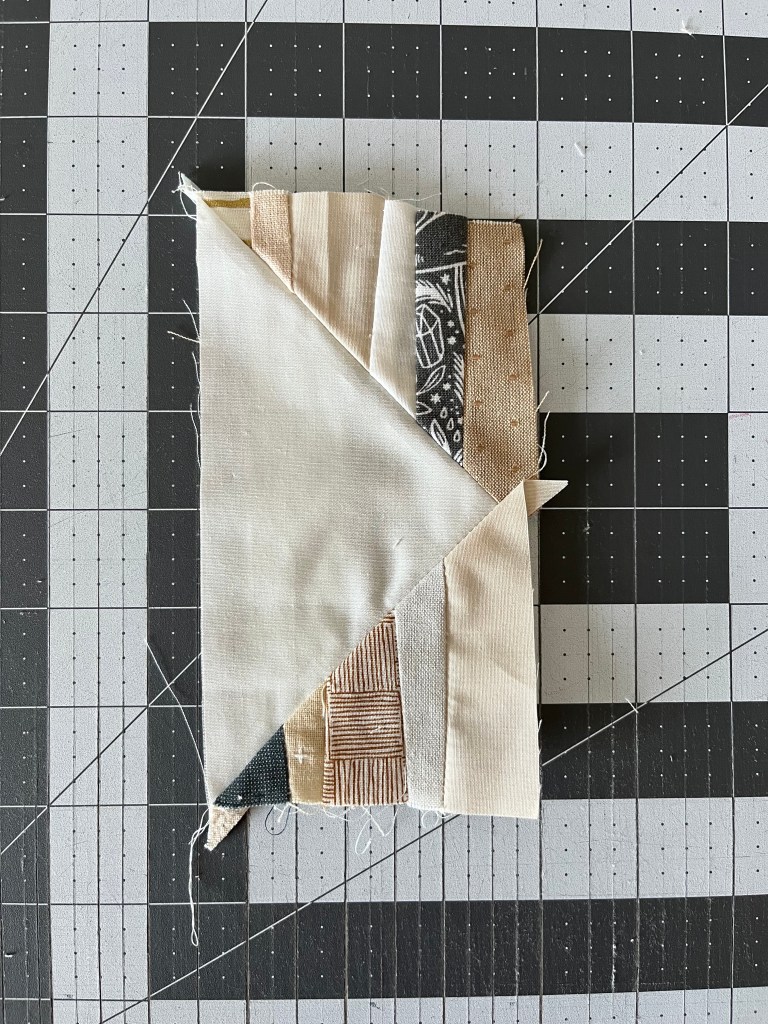
Step 5: Place another 3.75″ square in the corner of the cut unit, as shown below. I like to fold it back to make sure the strips are facing the right way before marking, sewing, and cutting.

Step 6: Mark a guideline from corner to corner on the 3.75″ square, sew 1/4″ seam on both sides. Cut along the guideline, and press the seam to the darker fabric.
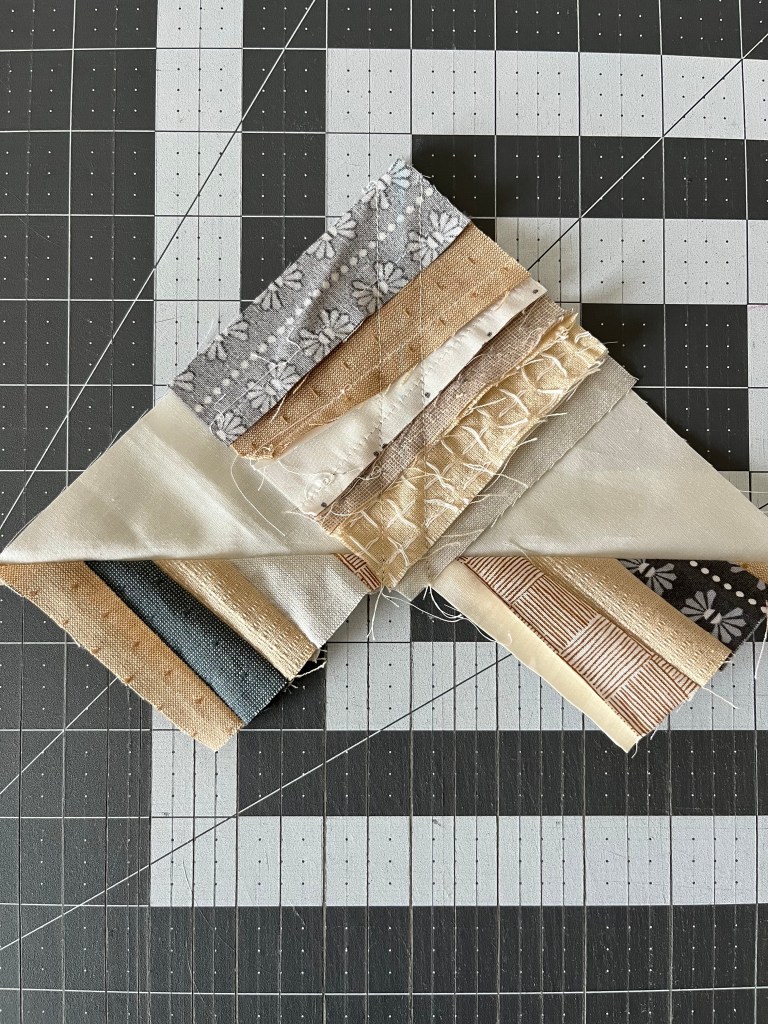
Repeat with the other unit. This will result in 4 flying geese units.
Repeat with all of the 7″ background squares and 3.75″ improv strip squares. There should be 4 flying geese units per block.
Trim Flying Geese Units
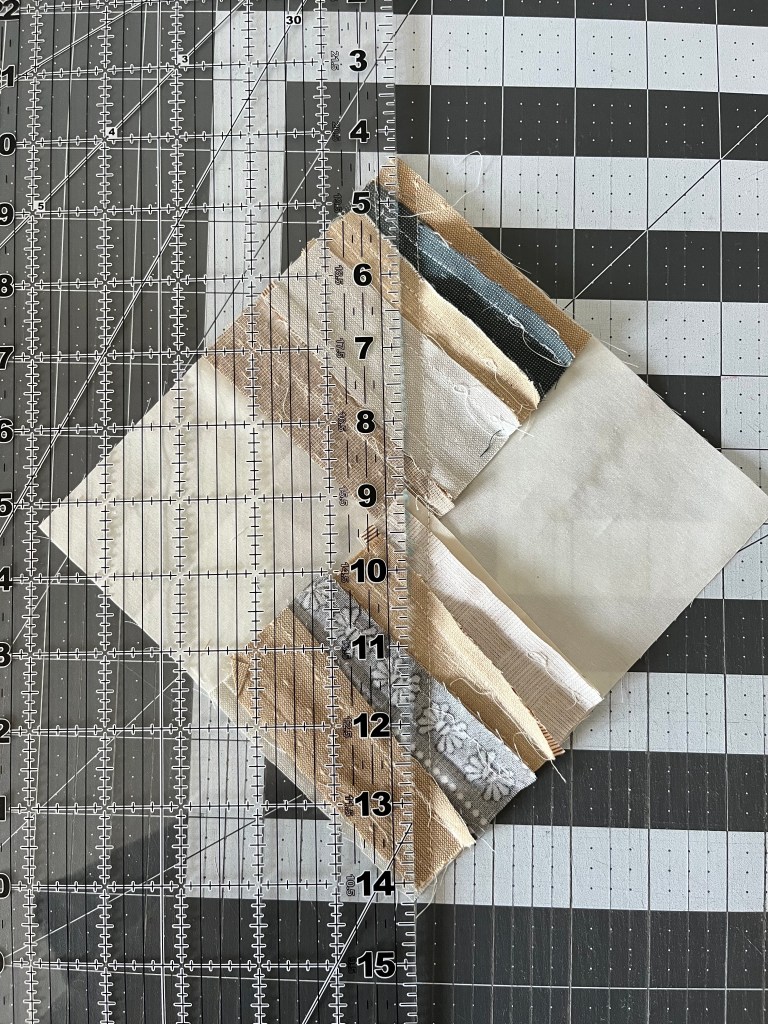
Now that you’ve made all of your flying geese units, you may have noticed they are…less than perfect. That’s okay! We are going to trim them down. The final flying geese unit will be 3″ x 5.5″.
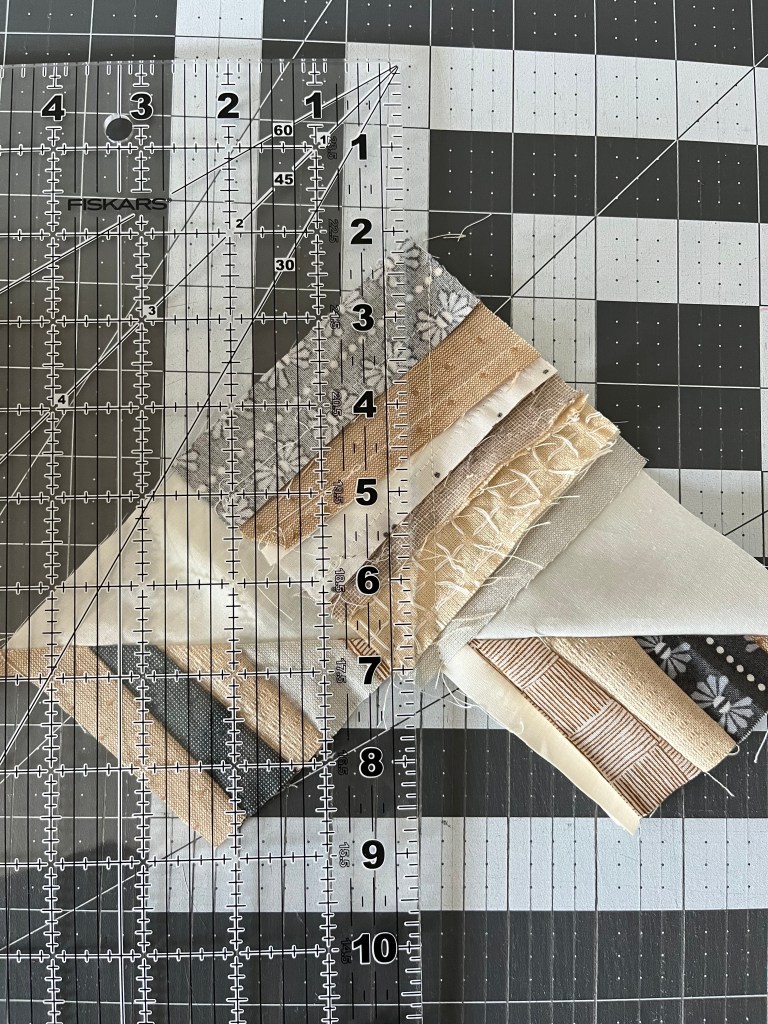
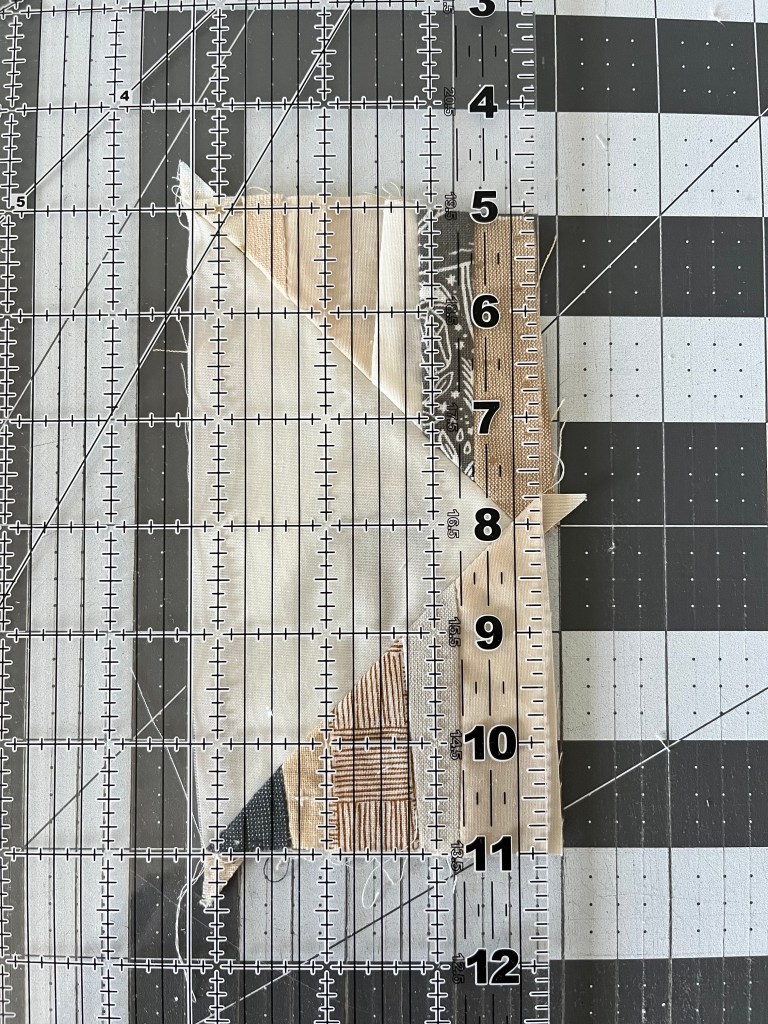
Step 1: Place flying geese unit so the point is on the right, as shown below.
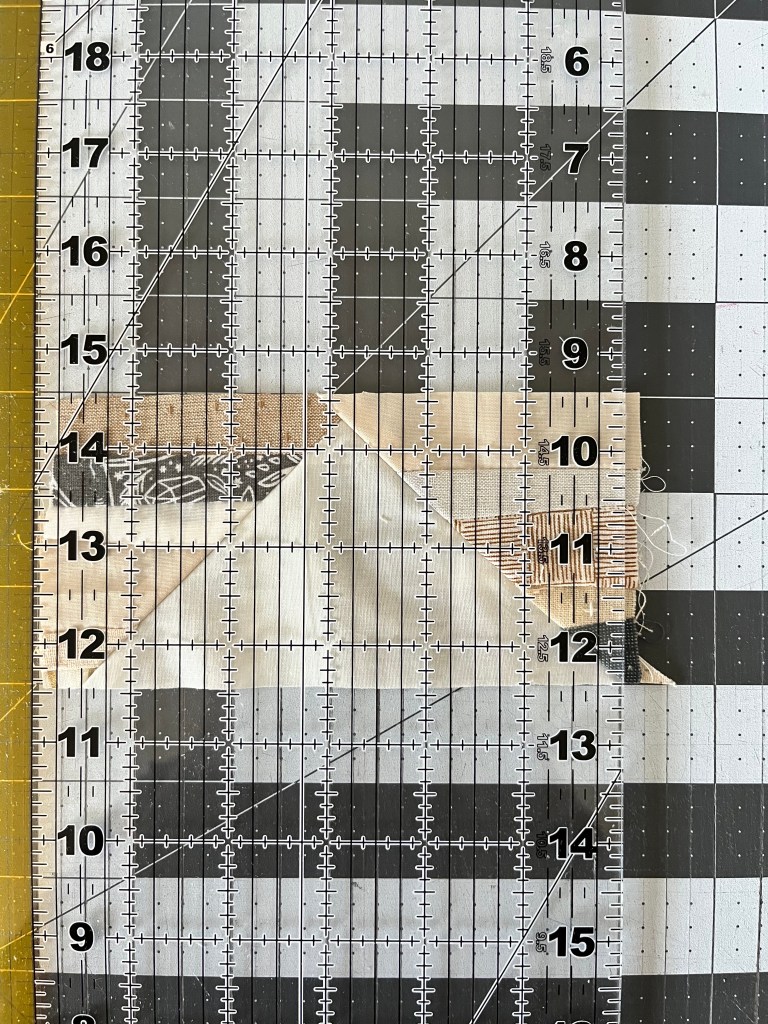
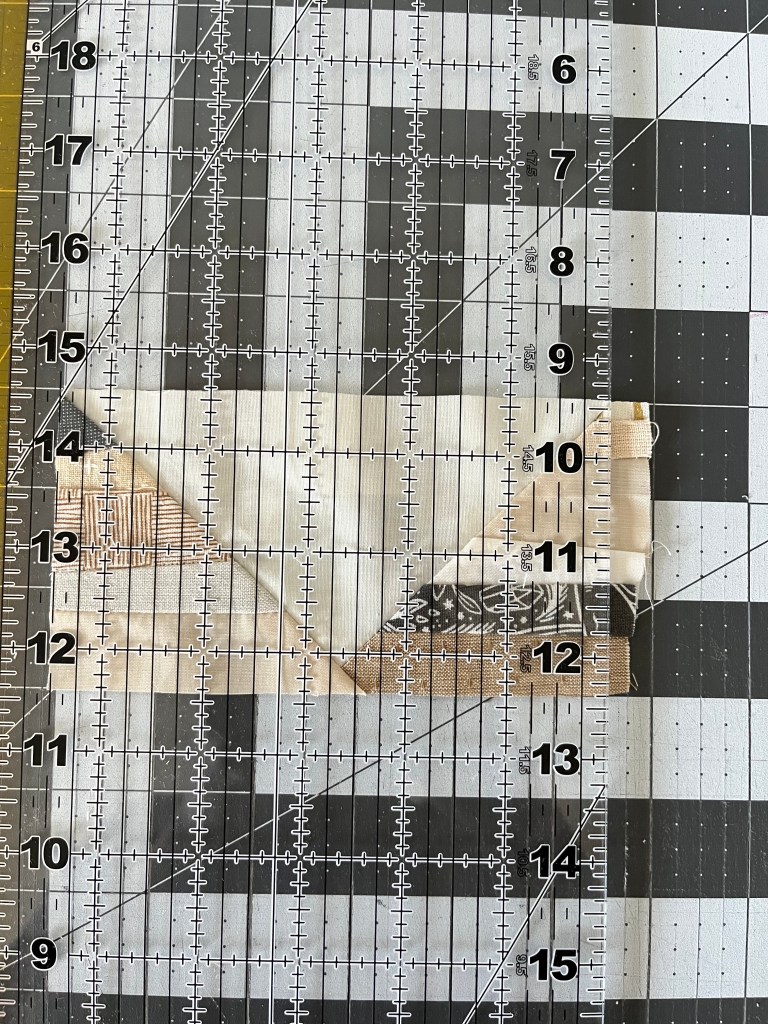
Step 2: Place a ruler on top and measure 1/4″ from the point. If you look at where the 8 on my ruler is, it’s lined up with the background point, with 1/4″ to the right of it. This will be our seam allowance and give us the points we want in the block once it’s all sewn together. Trim.
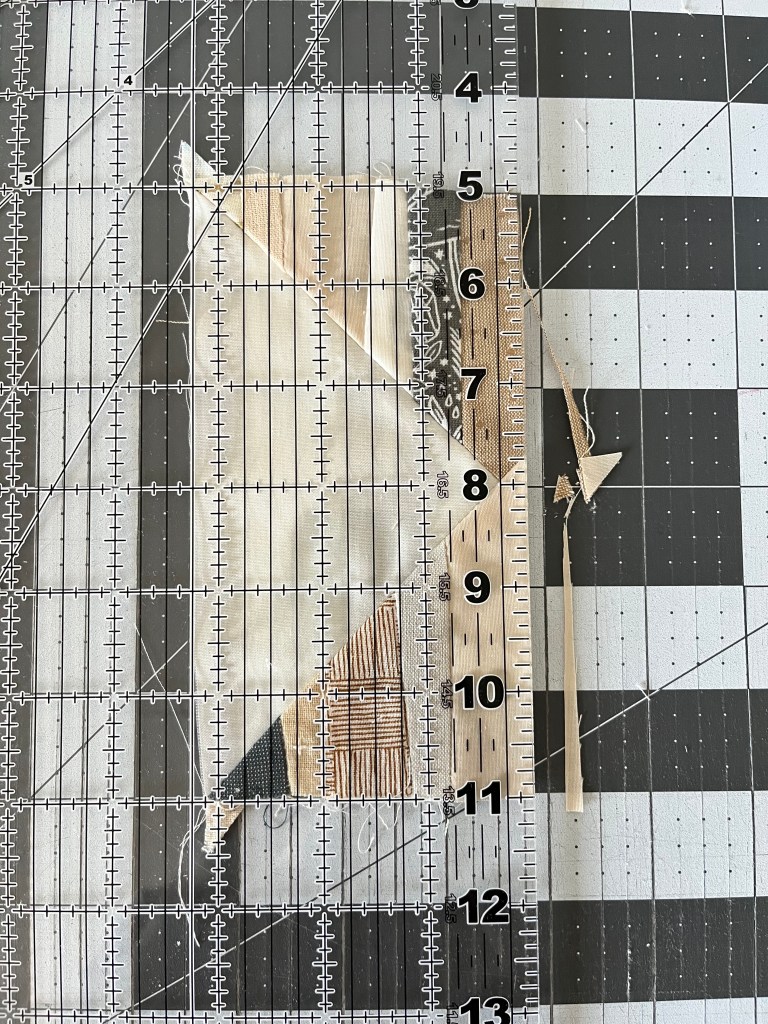
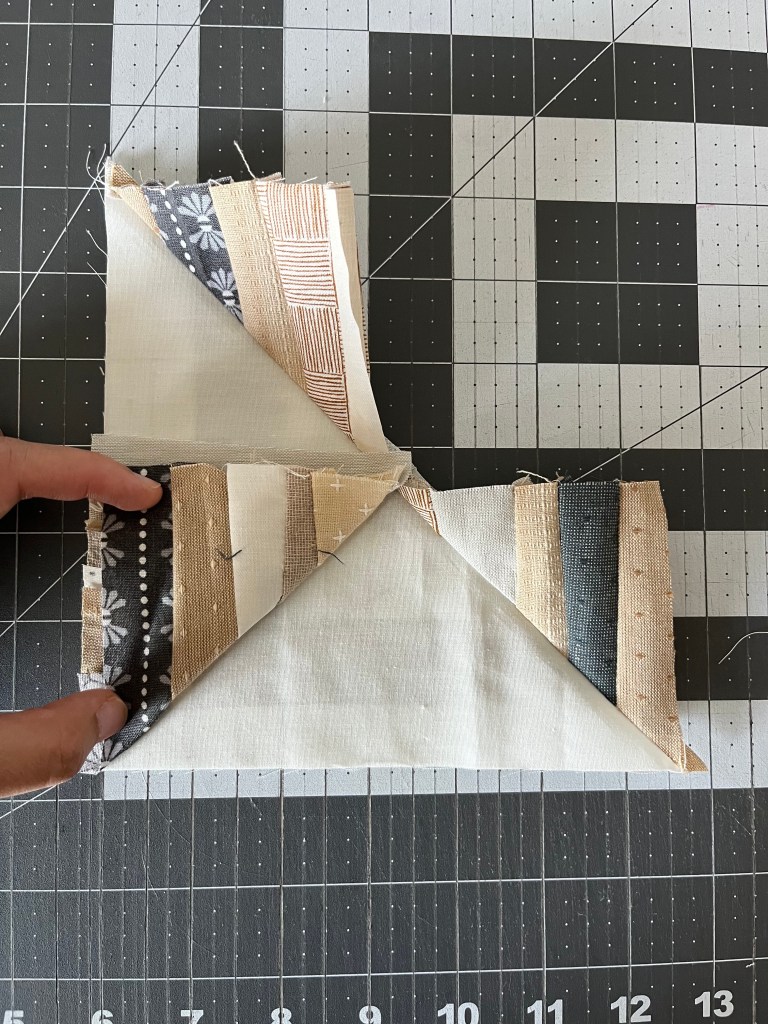
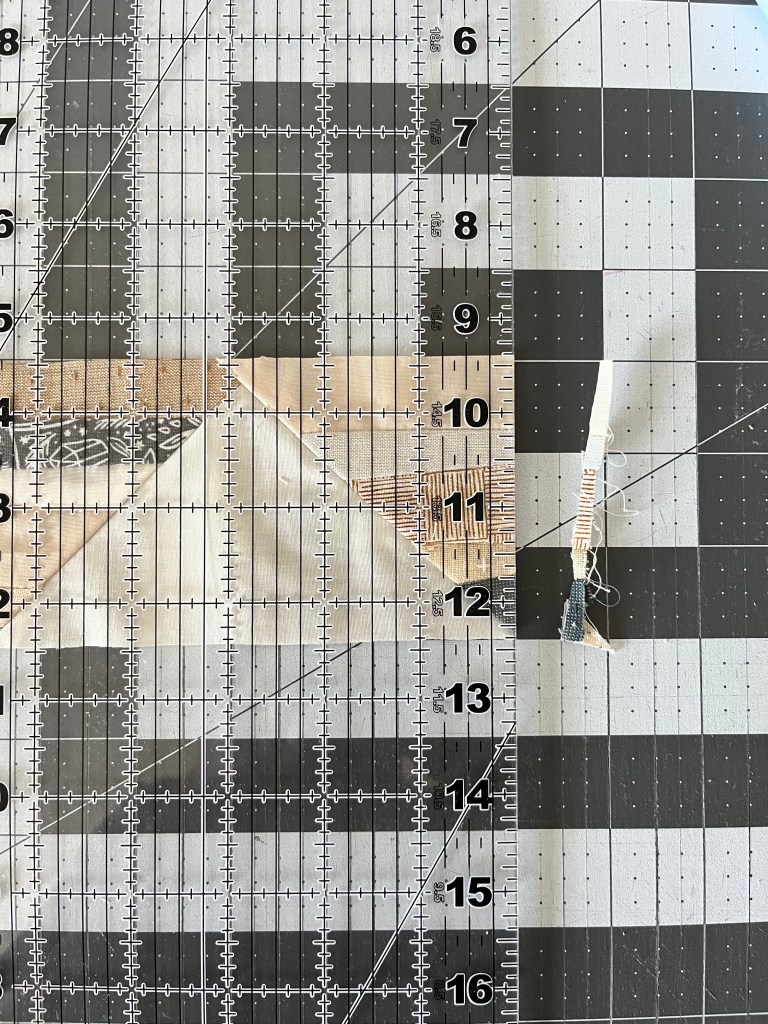
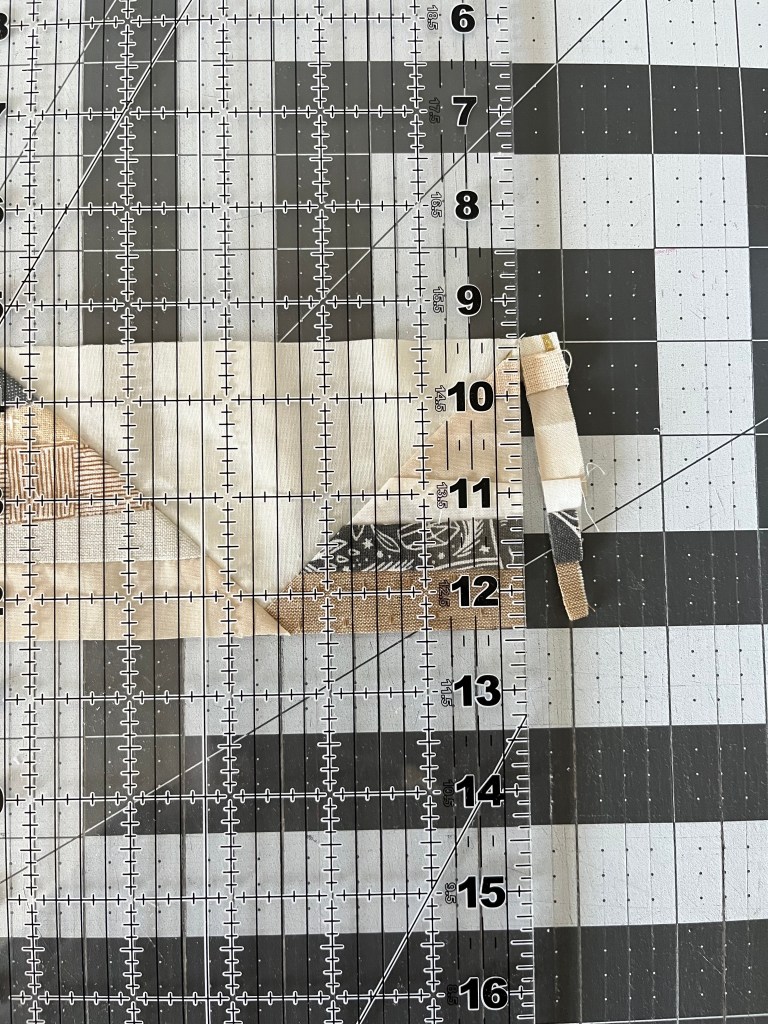
Step 3: Flip the block so it’s facing the other way. Place the ruler on top, 3 inches away from the left side, and trim on the right side so the width of the block is now 3 inches.
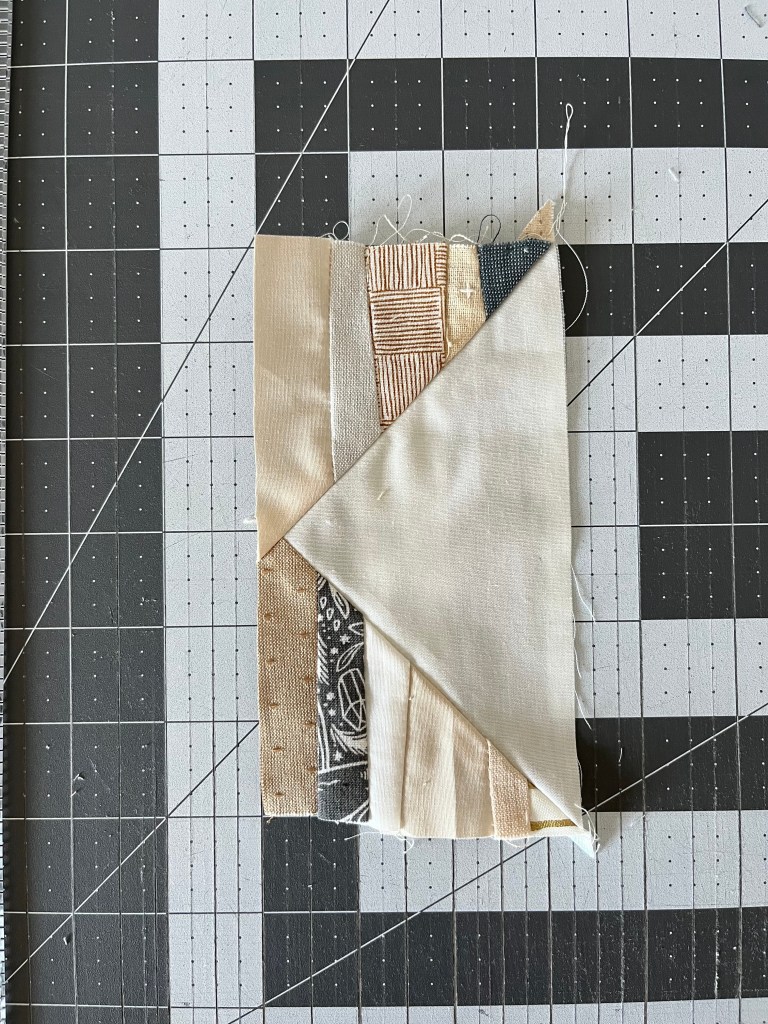

Step 4: Turn the block so the point is now at the top. Place your ruler on top of the block so that the edge of the ruler lines up with the bottom right background point. Trim.
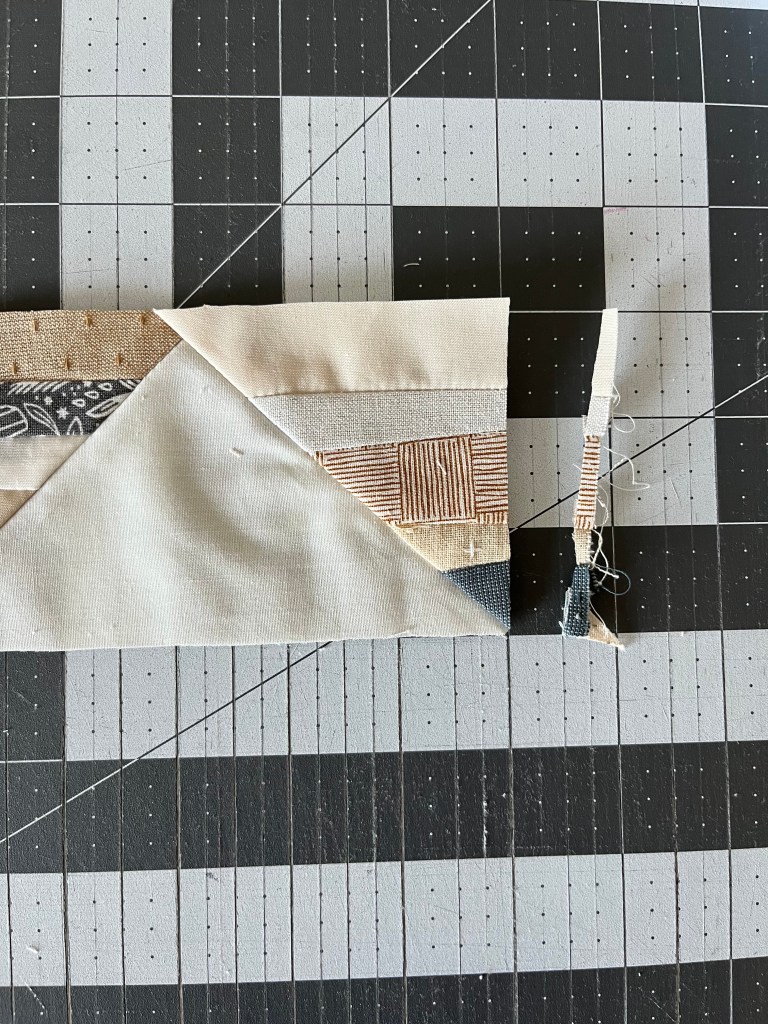
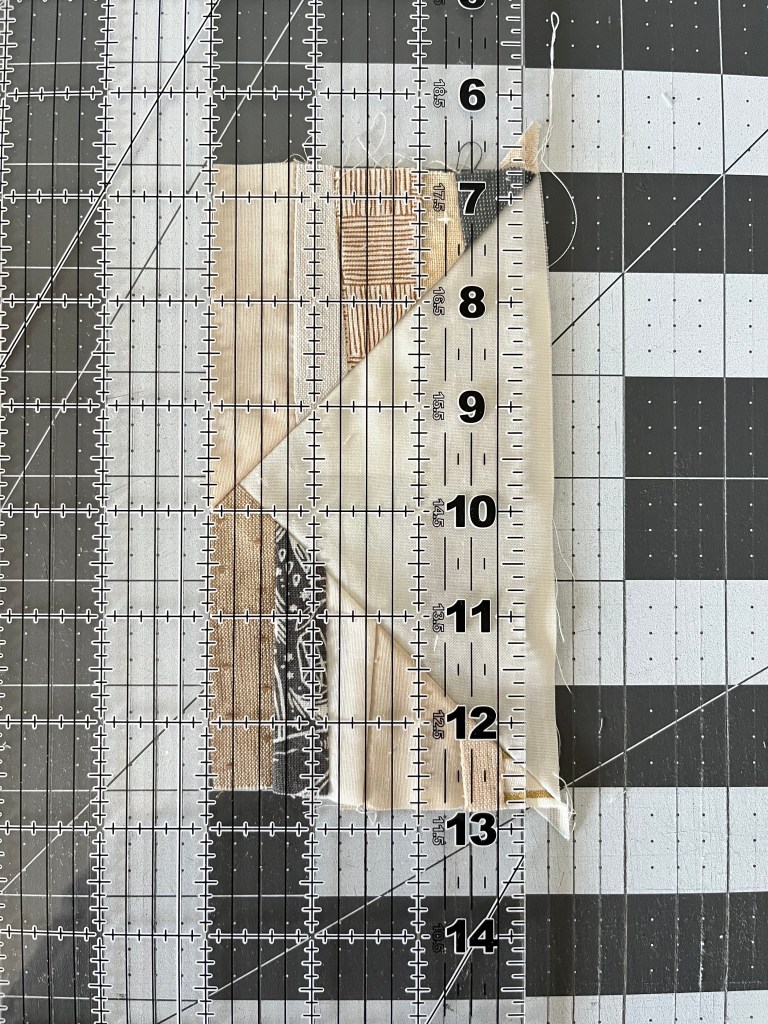
Step 5: Flip the block so the point is facing down. Line the ruler up with the background point on the top right. The block should measure 5.5″ from left to right. Trim.
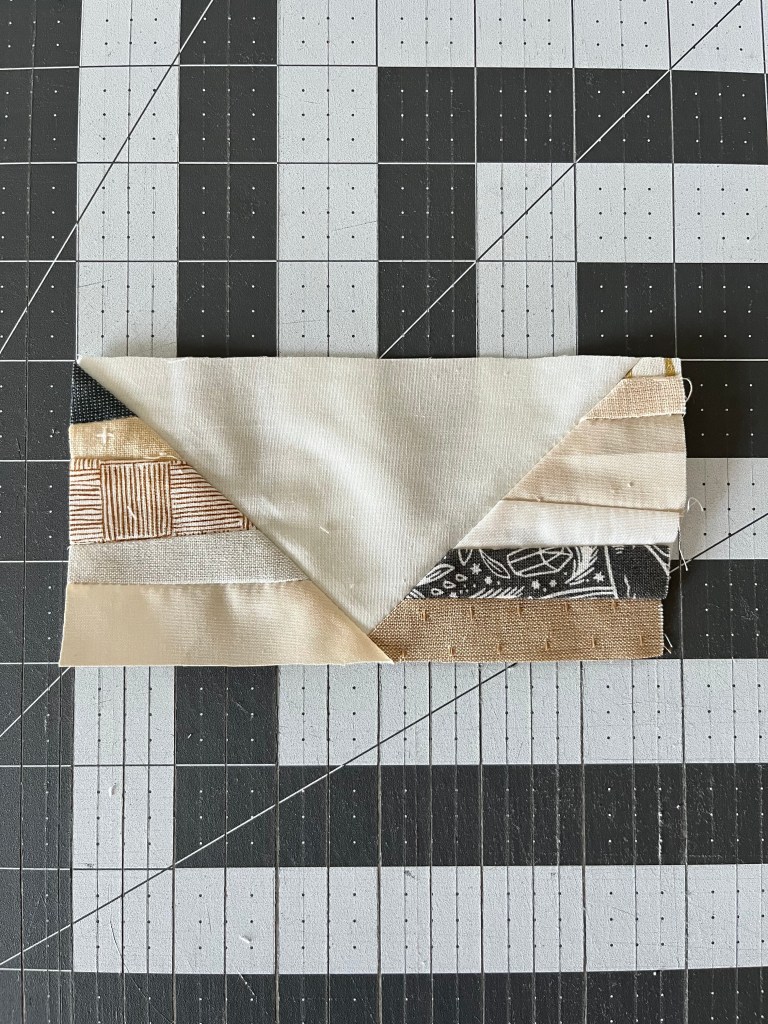
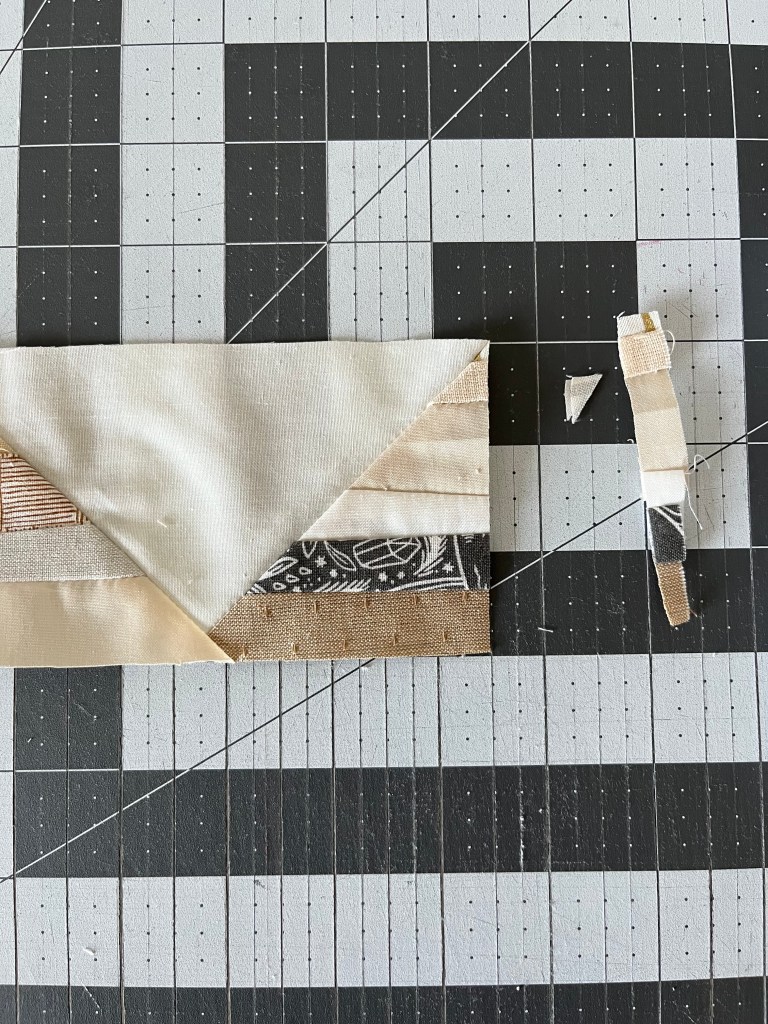
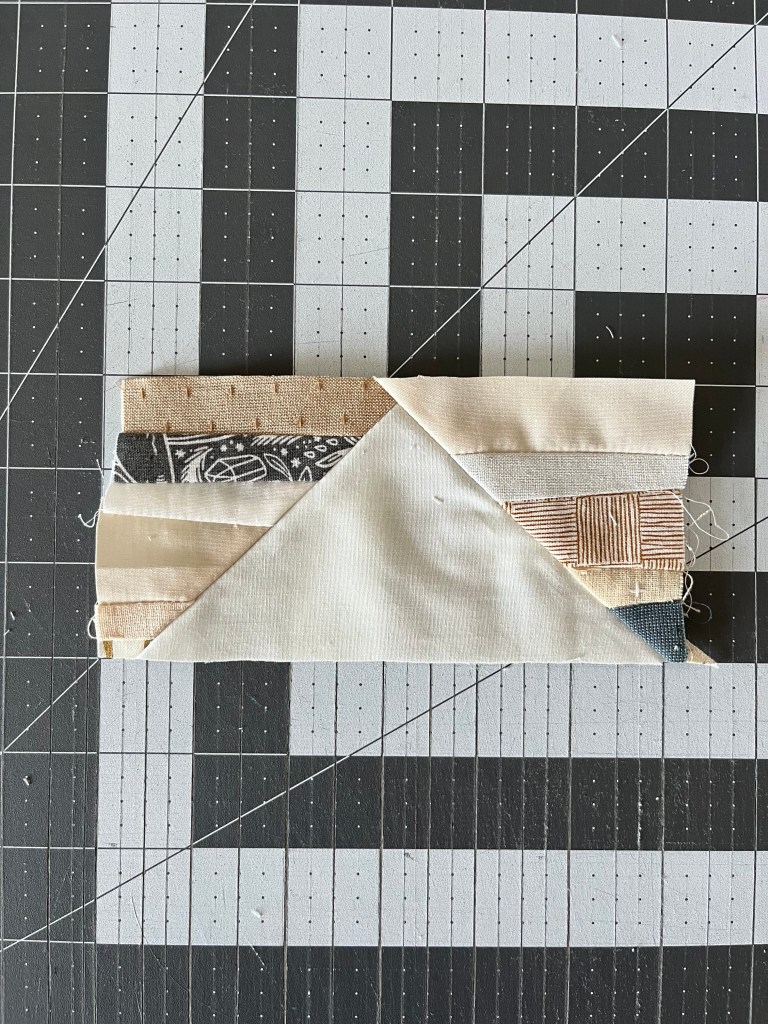
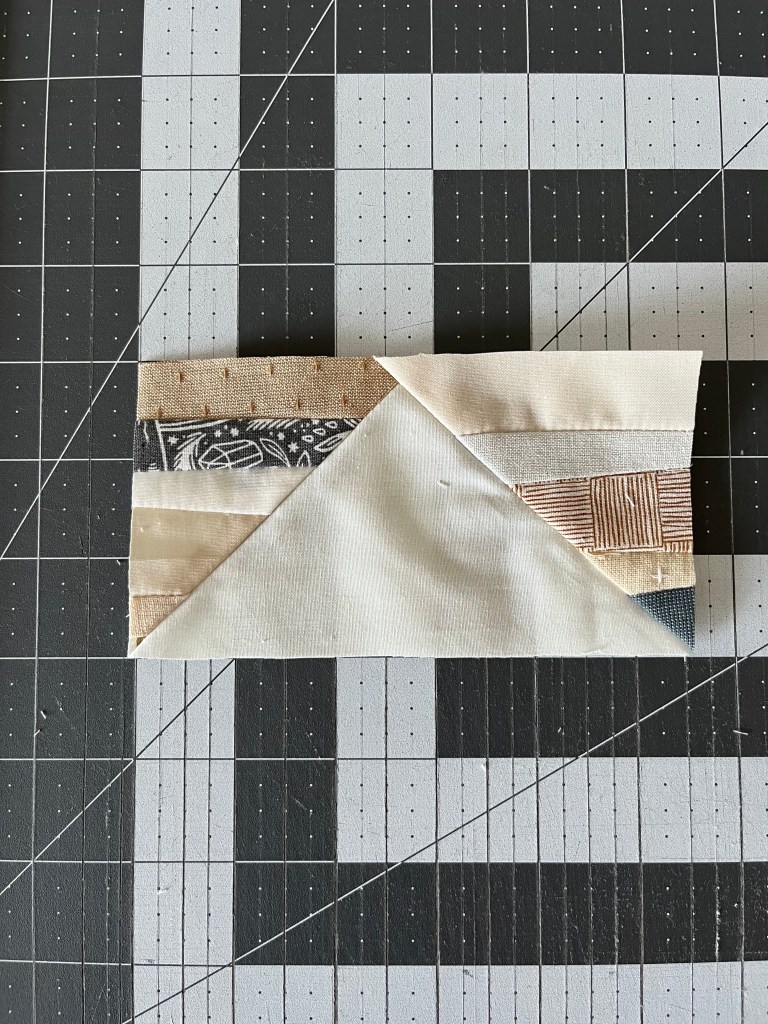
That’s it! The finished block will measure 3″ x 5.5″ and should look like block below. Repeat with the rest of your flying geese units.

Leave a comment