Now that the tricky parts of this quilt are done, it’s basically smooth sailing from here on out. This part of the tutorial will show you how to assemble the blocks. If you need to refer to any other part of this tutorial, you can find all of the different sections linked below.
Block Assembly
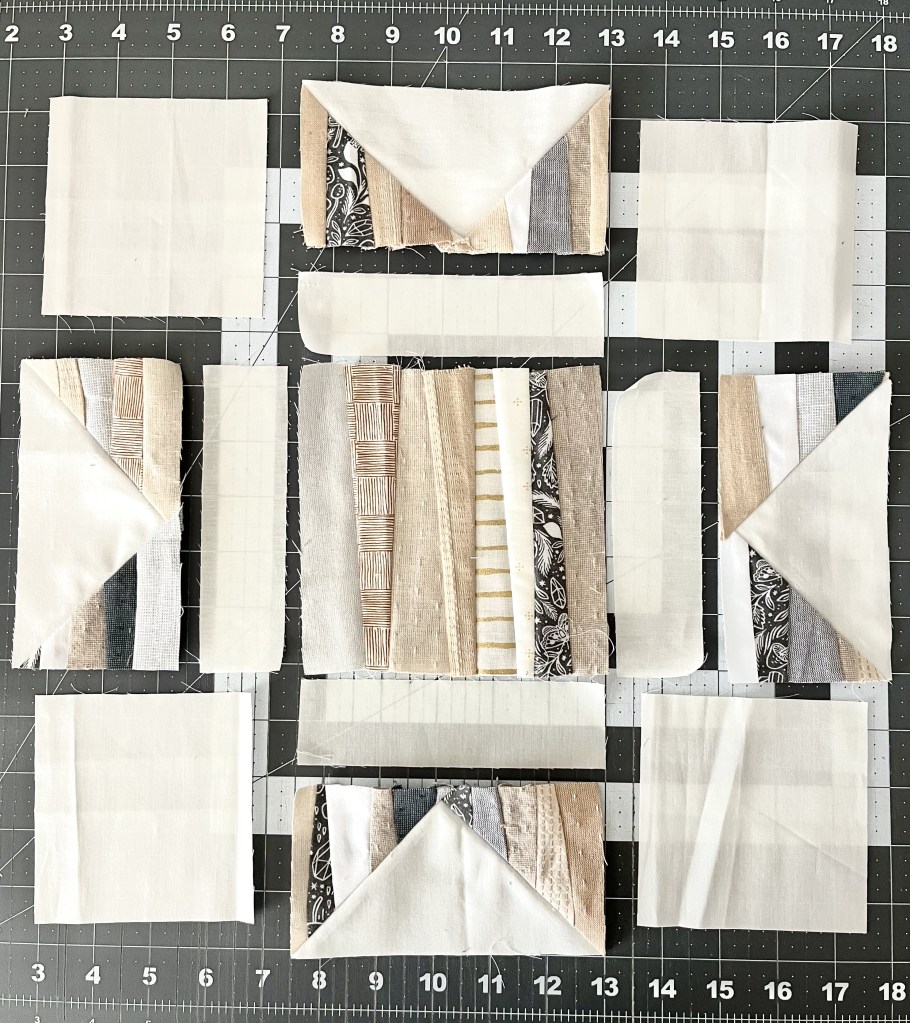
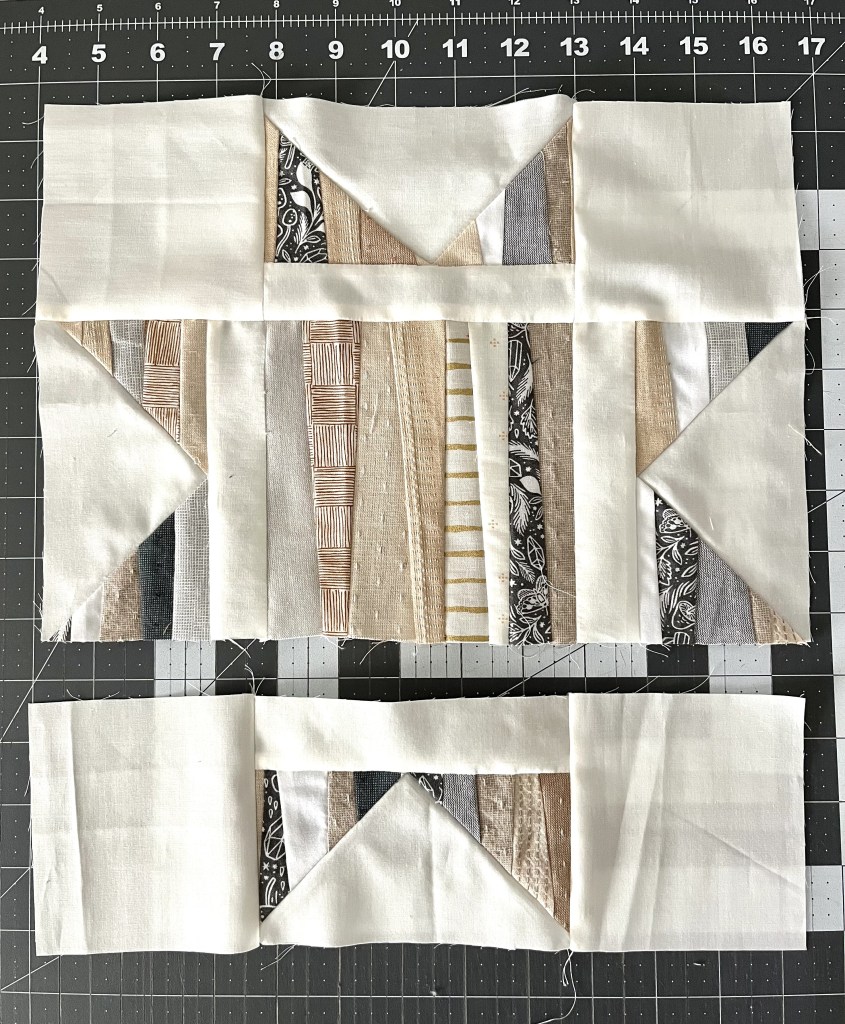
Lay out all of the block pieces, as shown below. You will have: 4 – 4″ background squares, 4 – 1.5″ x 5.5″ background strips, 2 – vertical striped flying geese, 2 – horizontal striped flying geese, and 1 – large improv strip square (5.5″).
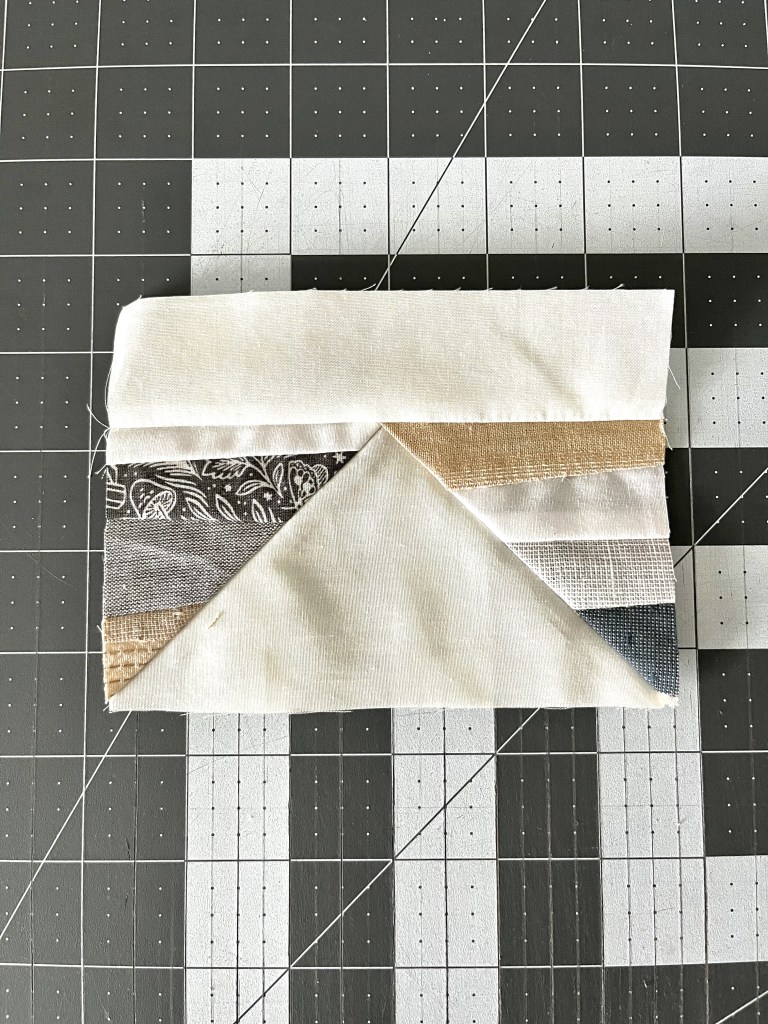
Start by piecing the 1.5″ x 5.5″ strips to the flying geese. Press seams.
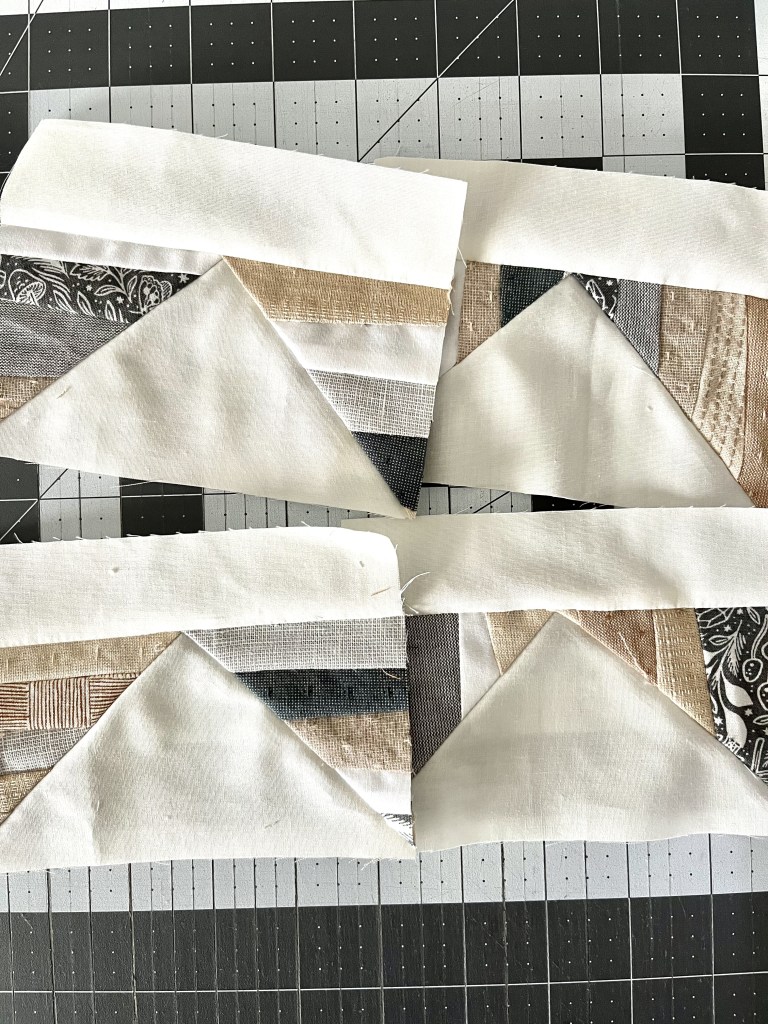
Sew the 4″ squares to the sides of the flying geese units for the top and bottom rows. Sew the flying geese units to the right and left sides of the 5.5″ strip unit.
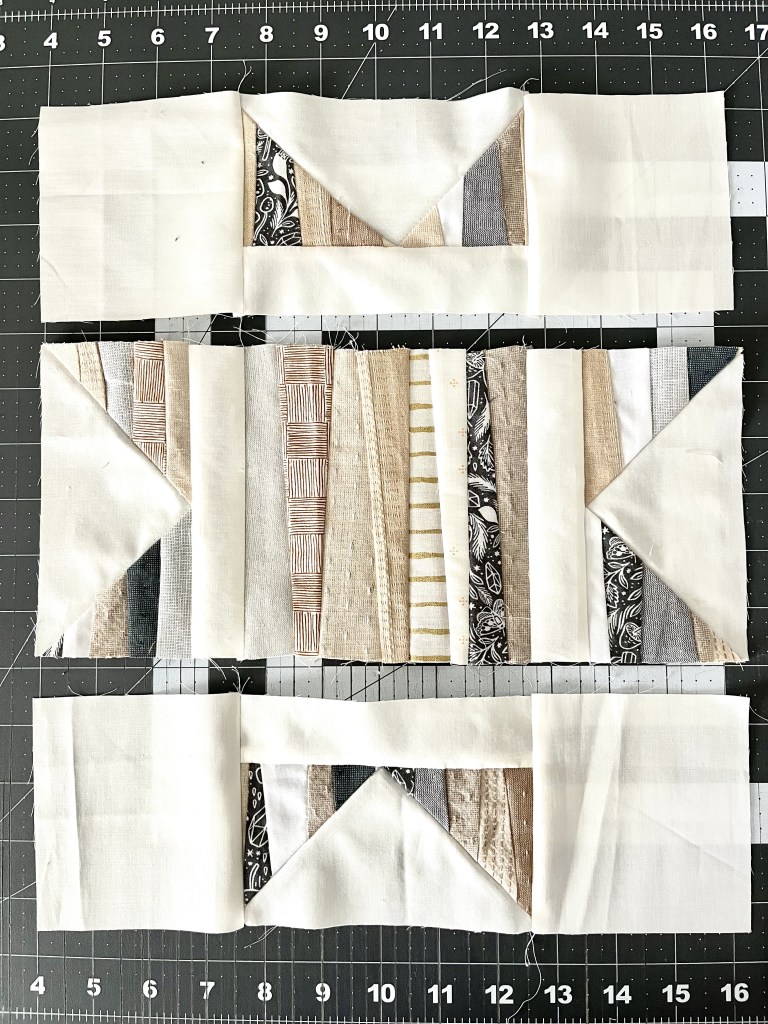
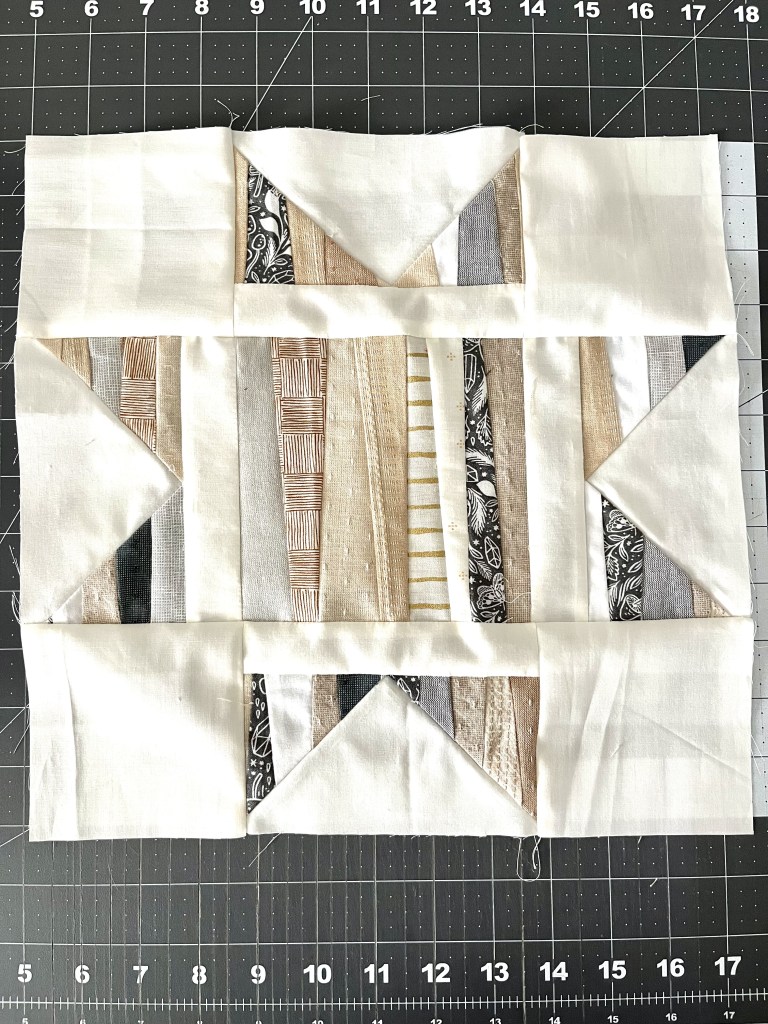
Sew rows together, and press seams. Repeat with the rest of the blocks. There will be 16 blocks in total.

Leave a comment